DIY Budget Half-Bath Transformation
March 2, 2020

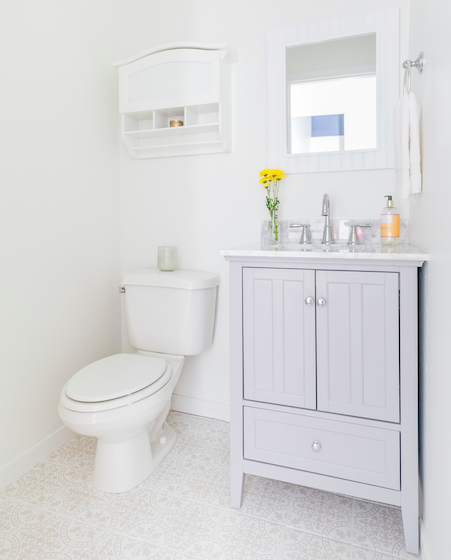
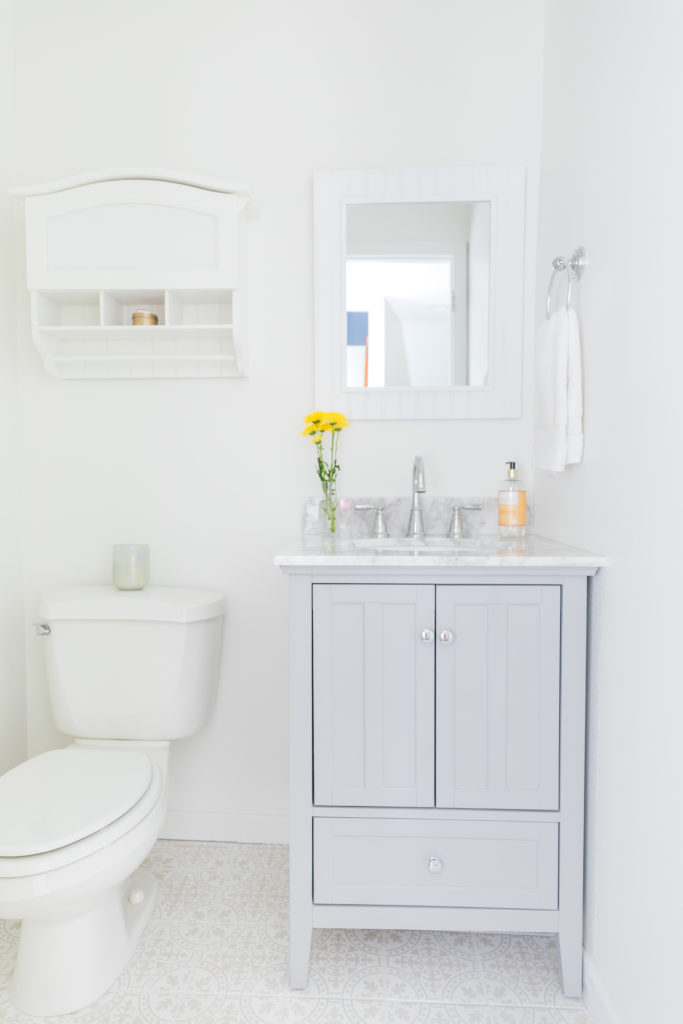
Happy Monday! As promised, I’m sharing my DIY Budget Half-Bath Transformation with you guys today! This was really my first big DIY project in the new place and it was such a success! (It wouldn’t have been possible without my dad’s help… because um, do I look like I can remove an entire sink/vanity by myself and install plumbing? Absolutely not.) So thank you Dad for all your help on this one!! Keep reading to find out how I completely transformed my half-bath on a budget and in under a week!
To see all the other progress we’ve made so far with this place, check out my Empty Home Tour, my Master Bathroom Reveal, and my Kitchen Reveal! And if you’re loving these home projects/ this home content, please let me know!

My DIY Half-Bath Transformation

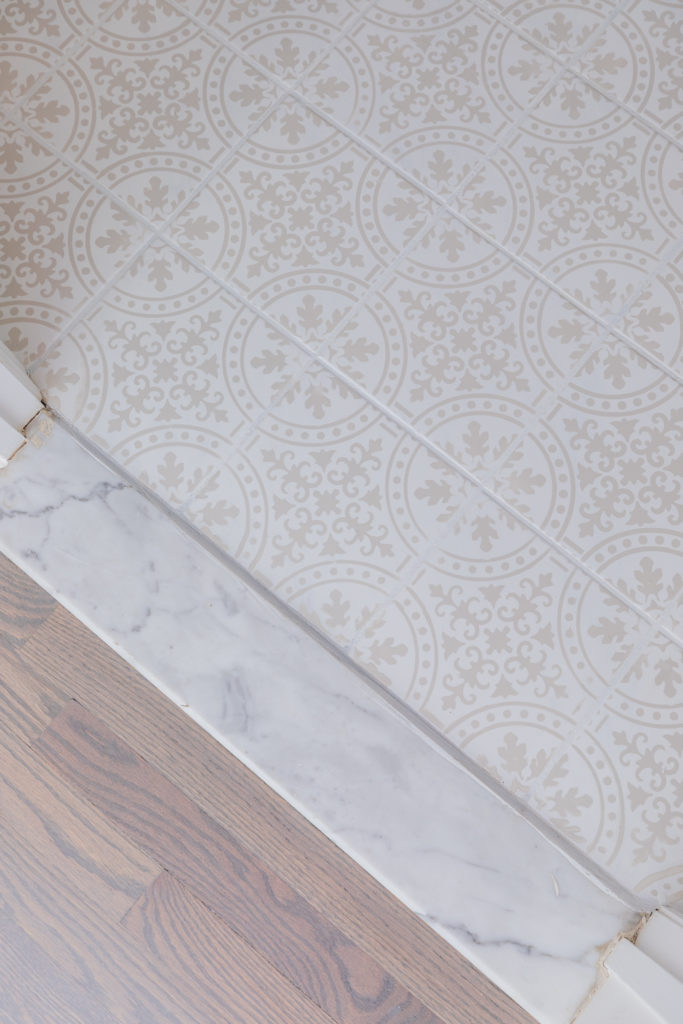
Here’s a look at what we were working with here. YIKES! I think there should be a standard rule to not paint a small room brown. Ever. Has anyone seen a tiny space painted brown where it looked good? Apart from the paint, the vanity and basin sink needed to go. My initial vision for this bathroom was to wallpaper it (inspired by Diana Rose Spier), but instead I decided to save the money and make a statement elsewhere in the bathroom… on the floor! This seemed like a win-win solution as I did want to find a way to refresh the floor without having to do tile work.

My dad helped me remove (read as: he did all the work, I just stood by as moral support) the vanity and wow, it already looked so much better! Afterwards I went ahead and painted the bathroom walls Benjamin Moore’s Chantilly Lace and I primed the floor using 2 coats of KILZ adhesive primer.

Here’s the link to my tile stencil. They come in a variety of patterns and sizes. Make sure you measure the length and width of your tile to make sure you’re ordering the right size. (My tile is 8in so I ordered an 8in stencil.) The most efficient way to stencil is by doing a tile and then moving to another tile that isn’t directly touching so you won’t smudge wet paint. That’s why you’ll see a strange pattern on the floor above.
PRO TIP: to achieve the most success with your stenciling, make sure your roller has barely any paint on it. Removing the excess paint will prevent bleeding under the stencil.
What I Used For This DIY Budget Half-Bath Transformation
[show_shopthepost_widget id=”3928835″]
After stenciling, my dad and I installed the new vanity and hooked up the sink plumbing. Then the half-bath was basically done! All I had to do was hang a new towel ring and a new mirror. This DIY half-bath transformation ended up costing me around $700. I already had the mirror, primer, and most of the painting supplies lying around. I had to purchase a new vanity, the stencil, oil-based poly, faucet, and towel ring.
Being Realistic With My Budget…
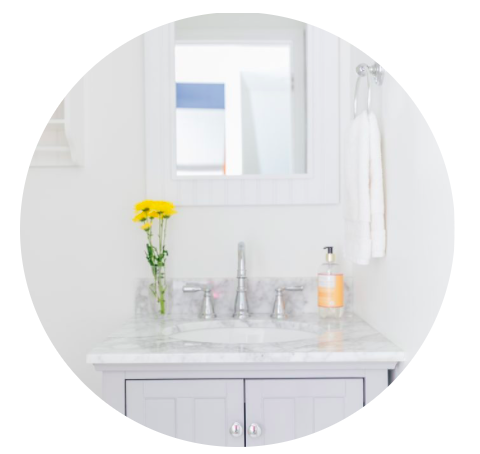
Going into this project my goal was to spend under $600, but I ended up finding the exact vanity that I wanted and was okay with spending most of the budget on that. It has a real marble top, it came with the sink already attached, and the entire vanity was already pre-assembled. That to me was definitely worth the $500 (I used a coupon to bring the price down a little).
Shop My Budget Bathroom Accessories Here:
[show_shopthepost_widget id=”3928855″]


Photo Credit: Julia Dags (the after photos)
Before you go, check out these other posts on Style Inherited!
- Summer Sushi Party Featuring a Floral Sushi Tower!
- Our Mirbeau Inn & Spa Rhinebeck, NY Spa-cation Recap
- Our 24 Hour Itinerary In Mystic, CT!
- 5 Tips To Score Designer Furniture on Facebook Marketplace
- The BEST Face Sunscreens for Summer 2023
keywords: DIY Budget Half-Bath Transformation // bathroom renovation // DIY bathroom project // DIY home projects // powder room // before and after // #styleinheritedhome
*This post contains affiliated links. Please go to my “About” page for more details about my affiliated links.
Leave a Reply Cancel reply
Designed by Gillian Sarah
Images by Helen Phillips
Copyright 2023 Life on Phillips Lane
Privacy Policy //
in your home, your closet, & beyond

Your bathroom looks so good!! The transformation is amazing!
http://www.rdsobsessions.com
Thanks so much Rach!
OMG this looks so pretty!
Lisa | lisaautumn.com
Thank you Lisa!
This transformation i just amazing! Nice Post! Have a great day!
Rampdiary
Allurerage
Thanks so much! 🙂
What a difference! It looks beautiful, you did a great job!
Thank you!!