How To Make A Viral Pin on Pinterest
February 17, 2020
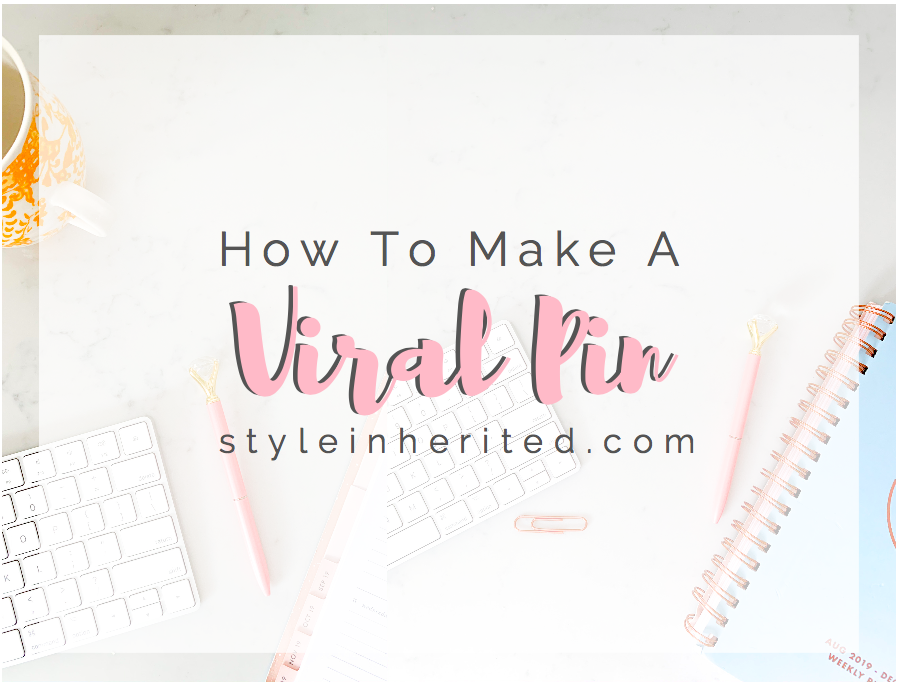
I don’t know about you guys, but I LOVE Pinterest! It’s my version of flipping through a magazine. I get to sit back, relax, drink my tea, and scroll through endless inspiration! Within ten minutes I can learn how to style a bar cart, decorate a cake, start my own business, and more! Pinterest isn’t just a fun way to unwind, it’s also an amazing tool to help grow my business. That’s why today I’m sharing how to make a viral pin on Pinterest!
Make sure you also check out my blog post: How I Grew My Pinterest From 0 to 50K in 2 Months. And make sure you follow me on Pinterest HERE.
Keep Reading To Find Out How To Make A Viral Pin!
I’ve broken the viral pin-making process down to 5 simple steps below…
STEP ONE: Create Your Own Stock Photos (Or Buy Them)
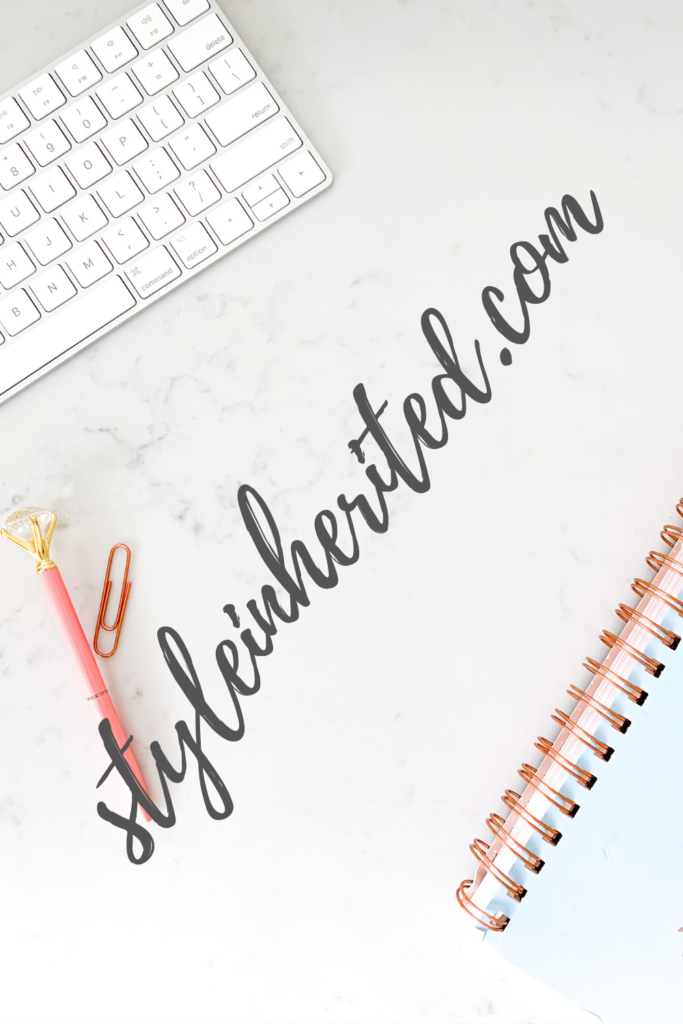
*All stock photos in this post are property of Style Inherited. If you would like to obtain these stock photos for your own use, please inquire by emailing styleinherited@gmail.com
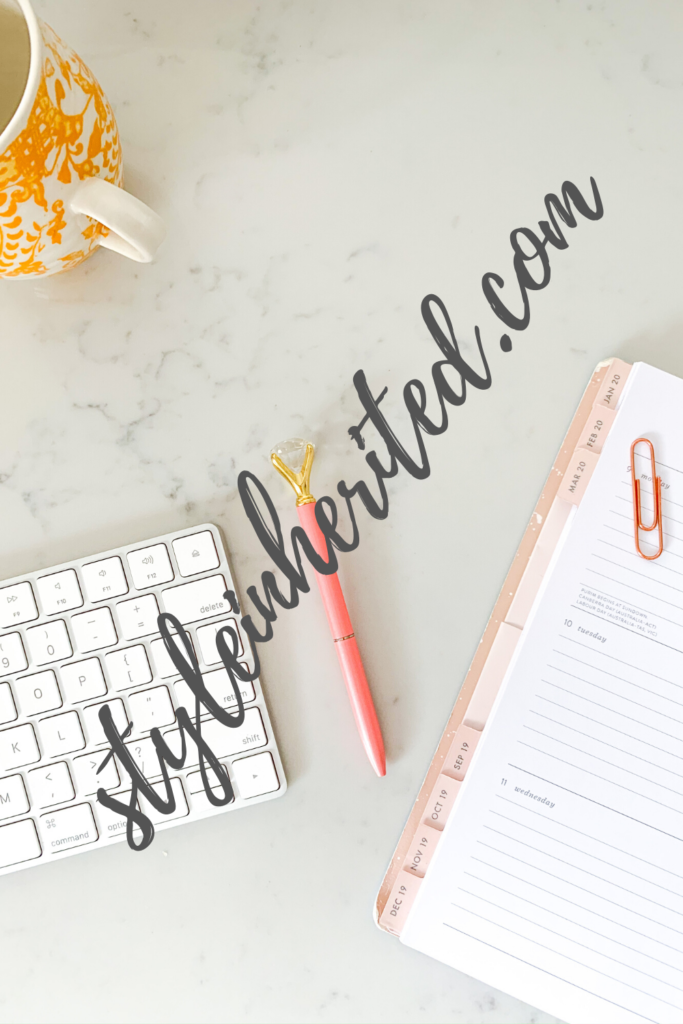
The more time I spent educating myself on Pinterest the more I learned about the importance of the photo. Plain backgrounds aren’t ideal because Pinterest’s software specifically reads the photo to understand the subject. The software doesn’t know what to make of a plain backgrounds, which can hurt the performance of your pin. Instead, you want to have a simple photo of some sort as the background.
The background photo should reflect the subject manner of your pin. For instance, if your pin is about clean beauty, then take a photo of clean beauty products on your countertop with a natural sponge. If your pin is about blogging, then use a keyboard, pen, planner, coffee mug, etc in your photo. If your pin is about travel, then just be sure to snap some simple, amazing backdrops while you’re traveling!
You want to stay away from free stock photos because SO many people on Pinterest are using them. Pinterest knows this and this will impact the performance of your pin. That’s why you want to use either your own original photography or you’ll want to buy stock photos.
If you’d like to purchase any of my stock photos OR learn how to take your own stock photos, please inquire via email: styleinherited@gmail.com
STEP TWO: Turn Your Stock Photos Into Pins

I use Canva to create all my pins. It’s free and you can use it on your phone (just download the app) or on your computer. Although I much prefer using Canva on my computer because it takes a lot less time to create pin designs.
How you want to design your pin is up to you. With that being said, there are certain ways to make your pin stand out. The more your pin stands out the more likely it will go viral. Here are a few things to keep in mind when designing your pin:

Is the graphic eye catching or is it just busy? Busy is BAD because people aren’t going to read your pin. Eye catching is good because they’ll stop to see what it says.
A few ways to make your pin eye-catching: mix up the fonts and change the colors of the text. Add lines or arrows or dots to draw attention to key words. Play around with all caps versus all lower case and the space between each letter.

Is the font easy to read and do the text colors contrast with the background?
Is the text attention grabbing? For instance, “Read THIS Before You Buy Your First Car” is much more interesting than “Things You Should Think About Before Buying Your First Car.”
And lastly, Is the background distracting from the overlaid text? This is probably the most challenging to get right. You want your background photo to be visible so people know what your pin is about the moment they look at it. However, you don’t want it to overpower the overlaid text.
STEP THREE: Create The Content Your Pin Will Link To
Honestly, this could easily be considered Step 1, but I’m calling it Step 3. It’s important to STOP & THINK about if your pin has a purpose before continuing on to the next steps.
For instance, I can create pins about Designer Handbags all day long, but unless I have blog posts on my site dedicated to the topic of Designer Handbags (which I don’t), then it’s totally pointless to be putting those pins out there. 99.9% of the pins you create should be directing Pinterest users back to your blog (or your Instagram, but mostly your blog). The other 0.1% would be pins linking to a fellow blogger’s site that mentions you. Example: a blog post that quotes you or gives you a shoutout, if you were a guest writer on a blog, etc…

Make sure you avoid…
Before moving onto the next step, make sure your pin accurately reflects the content of the blog post. What do I mean by that? If your pin says “10 Ways To Save $1000 In A Week” then make sure your blog post that you’re linking that pin to does exactly that. If it only gives vague money-saving tips, then your pin is misleading and it will frustrate the people who come to your site by clicking on the pin. You don’t want to make enemies on Pinterest, so steer clear of misleading people.
Instead of misleading your audience on Pinterest, here is a way that you can use curiosity and interest to your advantage. Phrase your pin in such a way that leaves them wanting more, such as “I Quit My Job And THIS Happened,” or “Find Out Why I Quit My Job And Never Looked Back.”
To summarize this section:
Sure it’s possible for a pin to go viral even if it’s only linked to your blog’s “home” page. However, wouldn’t you rather a pin go viral that’s directed to a specific post on your site, especially one with affiliated links? Linking to a post that can convert for you is the whole reason why you’re spending all this time trying to create a viral pin. So make sure you have that content already written and published before you move on to the next steps to really take advantage of a potentially viral pin.
STEP FOUR: Publish Your Pin

If you don’t want to invest any money, then you can publish your pins directly on Pinterest. If you are willing to spend some money then I 100% recommend you sign up for Tailwind. Tailwind deserves a blog post of it’s own, but basically Tailwind is a website that automates your Pinterest feed and schedules your pins to go live at optimal times. This allows them to get the most views possible.
What I love about Tailwind is that I spend about 1-2 hours one day a week uploading a bunch of Pinnable content and then my Pinterest feed is on autopilot for the next however many days. It’s amazing!
PRO TIP: Pinterest rewards active behavior. This is why you should still go onto Pinterest once each day for about 10 minutes. Focus on pinning items that come up in your “home” and “following” feeds.
STEP FIVE: Add Your Pin To Tribes & Engage With Tribes

This step only applies to people who have Tailwind. Regardless, you should keep reading in case you aren’t already sold on investing in Tailwind. (Hint, hint, it’s worth it!)
Another benefit to having Tailwind is that along with automating your Pinterest feed you’re also able to join Tribes. Tribes are groups of like-minded individuals that share their pins in hopes of each member re-pinning each other’s content. The sharing and re-pinning of content is a great way to help get your content to go viral on Pinterest.
This is the last step in creating a viral pin. If you follow all these steps you’ll be doing your best to set your pins up for success. If you want to learn more about Pinterest and strengthening your pins, feel free to reach out! I’d be more than happy to work with you 1-on-1.
Make sure you also check out my blog post: How I Grew My Pinterest From 0 to 50K in 2 Months. And make sure you follow me on Pinterest HERE.
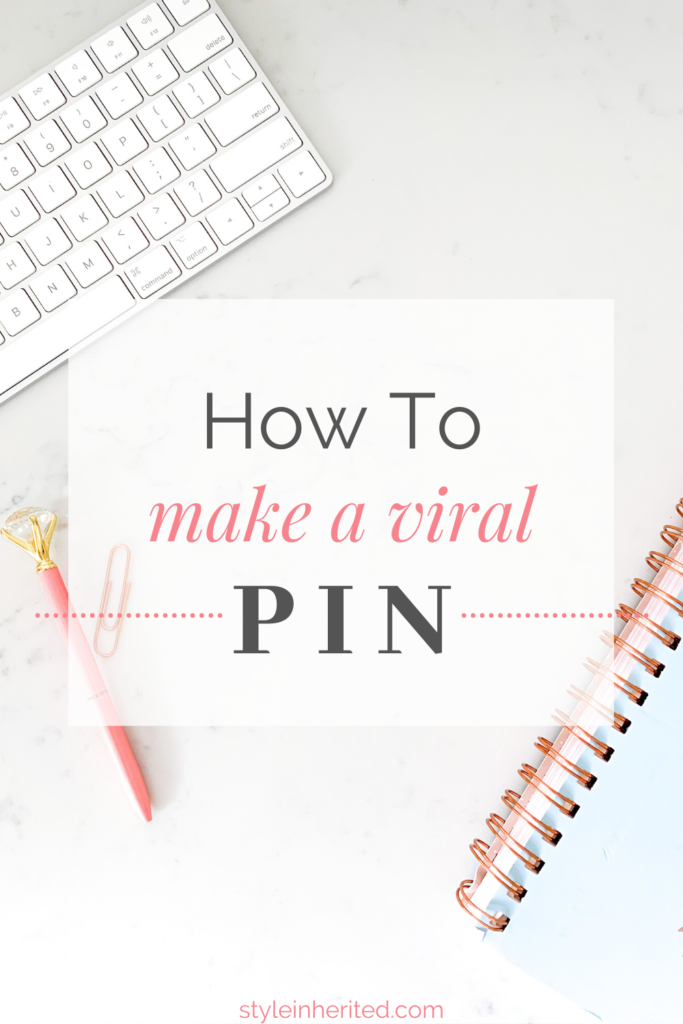
How To Make A Viral Pin On Pinterest • Pin These Images Below!

Before you go, check out these other posts on Style Inherited!
- Summer Sushi Party Featuring a Floral Sushi Tower!
- Our Mirbeau Inn & Spa Rhinebeck, NY Spa-cation Recap
- Our 24 Hour Itinerary In Mystic, CT!
- 5 Tips To Score Designer Furniture on Facebook Marketplace
- The BEST Face Sunscreens for Summer 2023
tags: how to make a viral pin on Pinterest. // Pinterest // pinnable // Pinterest growth // viral pin // blog growth // blog traffic
how to make a viral pin on Pinterest
Leave a Reply Cancel reply
Designed by Gillian Sarah
Images by Helen Phillips
Copyright 2023 Life on Phillips Lane
Privacy Policy //
in your home, your closet, & beyond

